

Hur rengör man en gräsklippare efter intensiv användning?
Varför det är viktigt att rengöra din gräsklippare efter tung användning
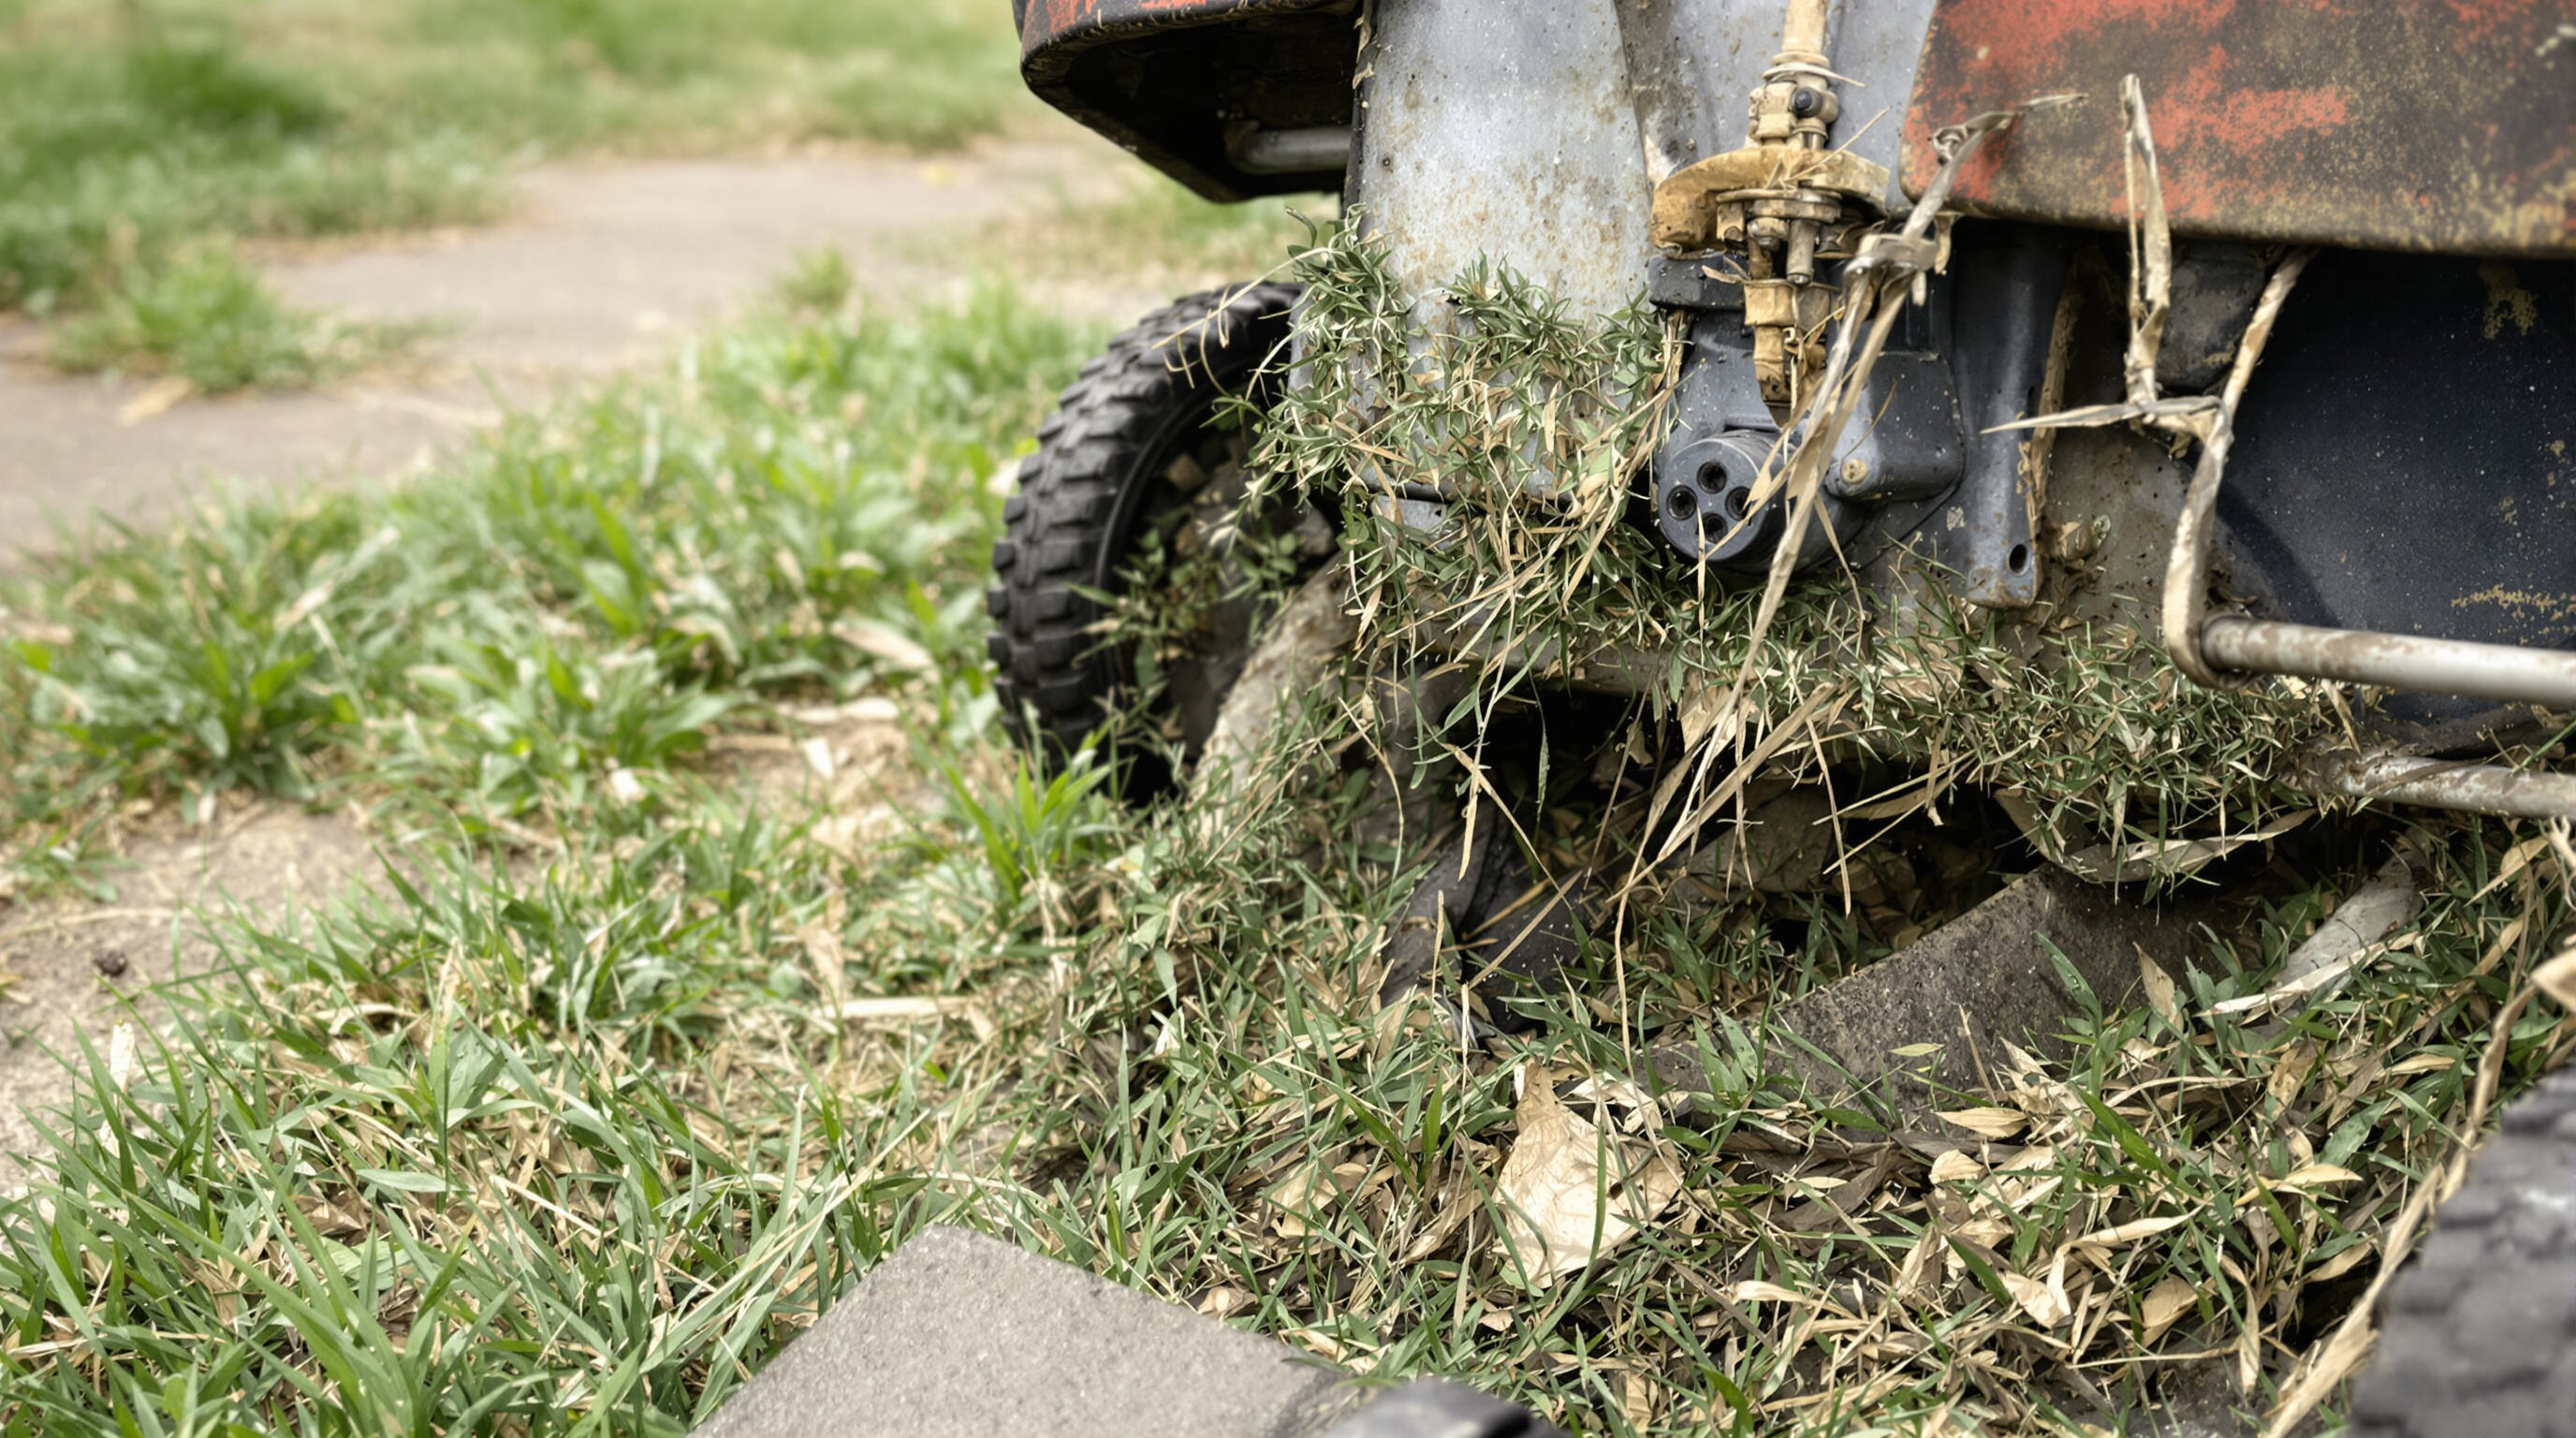
Inverkan av grässtrån och skräp på gräsklipparens prestanda
När grässtrån och annat skräp samlas upp på en gräsklippare gnuggar de mot alla rörliga delar, vilket får motorn att jobba hårdare bara för att ta sig igenom trädgården. Efter en klippningsperiod tenderar detta skräp att sitta kvar under chassit där det påverkar bladets balans med cirka 15 procent enligt olika tester. Resultatet? Slitna lager och påkänsliga spindlar som leder till ojämna klippningar på gräsmattan samt en betydligt större risk för att något går sönder helt och hållet.
Förläng din gräsklippares livslängd genom regelbunden rengöring
Gräsklippare som rengörs regelbundet efter tunga jobb tenderar att hålla i ungefär 10 till 15 år, medan de som lämnas smutsiga oftast bara håller 5 till 7 år innan de måste bytas ut, enligt viss forskning från 2022. Att ta bort irriterande gräs-syror hjälper till att förhindra rost på metallkomponenter, och att hålla luftfilter rena gör faktiskt att motorn fungerar bättre eftersom bränslet förbränns effektivare. Att enbart lägga av fem minuter på att skrapa bort grässklumpar från klipparskåpet efter varje användning kan minska kostnaden för dyra reparationer senare med ungefär två tredjedelar. Denna enkla vana hjälper inte bara maskinen att fungera korrekt utan bevarar också dess återförsäljningsvärde över tid.
Verktyg och material som behövs för effektiv gräsklipparrengöring
Riktig rengöring av gräsklippare kräver rätt verktyg för att ta bort skräp utan att skada känsliga komponenter. Användning av olämpliga metoder kan leda till korrosion eller försämrad prestanda.
Grundläggande rengöringsverktyg: Borstar, skrapor och trasor för att ta bort skräp
Stiffa borstar med nylonborstar fungerar bäst när man försöker ta bort gräsklippningar som fastnat på metalldekar. Under dek där saker tenderar att ansamlas, upptäcker folk att antingen en teflonkniv eller någon form av plastskrapa gör jobbet ganska bra utan att skada målningen. När det är dags att rengöra kontrollpaneler och motorhjälmor finns inget som slår vanliga mikrofiberdukar för att få dem fläckfria. Om det finns riktigt envis smörja någonstans, blanda först en liten mängd mild rengöringsmedel. Ta bara två matskedar vanligt diskmedel och häll det i en sprayflaska fylld med varmt vatten. Spraya blandningen på området och låt den verka i en eller två minuter innan du försöker borsta bort smörjan igen. Undvik trådborstar eftersom de kan orsaka repor. Samma gäller starka kemiska rengöringsmedel som med tiden kan äta upp viktiga tätningsmaterial eller skyddsskikt.
Användning av vatten på ett säkert sätt: Tips för slang utan att skada motorn
När du städar efter att ha klippt gräset, ta en trädgårdsslang med en mjuk sprutmunstycke för att skölja bort smuts och gräsrester som lossnat. Var dock försiktig med var du riktar den. Gräsklippare ska alltid lutas bakåt när de tvättas, aldrig åt sidan. Att luta dem på sidan kan leda till ösiga olje- eller bränsleläckage överallt. Vatten måste hållas borta från känsliga delar som luftfilter, karburator och alla elektriska komponenter på klipparen. När allt har sköljts av är det viktigt att snabbt bli av med fukten. Torka av alla metalliska delar med rena handdukar eller blås bort fukten med tryckluft om det finns tillgängligt. Att eliminera fukt direkt förhindrar rostbildning, vilket ingen vill hantera senare.
Specialiserad utrustning: Tvättportar och underredsstädverktyg
Många nyare gräsklippare kommer utrustade med tvättuttag där användaren kan koppla upp en trädgårdsslang för att skölja bort smuts och gräsavklippen som fastnat på de svåråtkomliga ställena under klipparhuven. När det gäller äldre modeller som saknar sådana bekvämlighetsfunktioner är det klokt att använda den rengöringsanordning tillverkaren rekommenderar – vanligtvis något med praktiska vinklade munstycken för bättre räckvidd. Glöm inte heller att skaffa en skuretapp av god kvalitet. Dessa små verktyg är utmärkta för att hålla båda sidor av bladen rena vid regelbundna underhållskontroller av maskinen.
Steg-för-steg-guide för att rengöra enbensindriven gräsklippare
Säkerhet först: Koppla från tändstiftet och låt motorn svalna
Koppla från tändstiftskabeln innan du börjar för att förhindra oavsiktliga startförsök. Låt motorn svalna i 30–60 minuter för att undvika brännskador eller antändning av bränsledamp. Enligt experter inom underhåll av bensindrivet utrustning minskar denna åtgärd brandrisken med 92 % jämfört med rengöring av en varm motor.
Använda tvättuttaget för effektiv rengöring av insidan av deklet
Anslut en trädgårdsslang till gräsklipparens tvättuttag och kör motorn på halv gas i 60–90 sekunder. Centrifugalkraften hjälper till att spola bort smuts samtidigt som vatten hålls borta från kritiska motordelar. Gräsklippare med fabriksmonterade tvättuttag rengörs 34 % snabbare än manuella metoder (Lawn Care Equipment Review 2024).
Torka av yttre ytor och rensa ventiler, blad och hjul
Torka alla metallkomponenter med mikrofiberdukar för att förhindra rost. Använd en mjuk borste eller komprimerad luft för att rensa gräsfragment från kylflänsar, hjulager och styrlänkar. Applicera en lätt lager av silikonsprej på rörelsepunkter för att upprätthålla smidig funktion mellan rengöringarna.
Skydda känsliga komponenter under rengöring av gräsklippare
Bensindrivna klippare innehåller komponenter som är känsliga för skador vid rengöring. Rätt hantering förhindrar bränsleläckage, vatteninträngning och korrosion.
Förebygg bränsleläckage vid lutning av bensindrivna gräsklippare
Stäng av bränsleventilen och låt restbränslet ligga i 10–15 minuter innan klipparen lutas. Placera klipparen så att karburatorn förblir upprätt för att förhindra att bränsle kommer in i luftintaget. En utrustningsundersökning från 2023 visade att felaktig lutning står för 23 % av bränslerelaterade motorproblem.
Håll vatten borta från luftfilter och karburator
Täck luftfilterhuset med en plastpåse eller vattentät sköld innan du sköljer. Om fukt ändå kommer in i karburatorn, använd tryckluft för att torka interna delar. Spruta aldrig vatten direkt på dessa komponenter – även små mängder kan störa bränsle-luftförhållandet och orsaka korrosion av känsliga mekanismer.
Inspektera korrosion i kritiska motorområden
Efter rengöring ska du undersöka tändstiftsbrunnen, knivaxeln och motorbultarna för tecken på rost. applicera ett tunt lager fukt- och korrosionsskyddande smörjmedel på exponerade metallytor. Enligt branschens underhållsriktlinjer förhindrar tidig upptäckt och behandling 65 % av motorfel relaterade till korrosion.
Torkning, underhåll och etablering av rutin efter rengöring
Torka gräsklipparen grundligt för att förhindra rost och fuktskador
Vattenansamling är den främsta orsaken till att gräsklippare slutar fungera före sin tid. Efter användning, ta några mikrofiberdukar och torka noggrant av kåpan, bladen och de svåra fogområdena. Fokusera särskilt på ställen där vatten tenderar att samlas och gömma sig. Låt allt torka fullständigt först. Hitta en skuggig plats med god luftcirkulation och lämna det där i minst två timmar, helst fyra. Tänk inte ens på att täcka över klipparen eller städa bort den innan den är ordentligt torr. Enligt landskapsentusiaster som följer dessa siffror, sker nästan hälften (40 %) av alla tidiga haverier därför att människor inte tar sig tid att ordentligt torka sin utrustning efter användning.
Användning av tryckluft och smörjmedel för långsiktig skydd
Blås bort smuts och sörja från de svårtillgängliga ställena som kylfjädrar, gaslänkar och hjulupphängningar med tryckluft vid cirka 30 till 50 PSI – det fungerar bäst i de flesta situationer. Efter att ha rensat bort all denna skräp, applicera ett tunt lager av högkvalitativ 3-i-1 maskinolja på ledpunkter och styrkablar. Använd inte silikonspray eller vanlig WD-40, eftersom dessa produkter tenderar att försämra gummipackningar över tid och faktiskt drar till sig mer damm än de håller borta. När denna underhållsrutin utförs korrekt minskar friktionen med mellan 50 % och 60 % i kritiska delar, vilket säkerställer smidig drift över flera säsonger utan oväntade problem.
Skapa ett regelbundet underhållsschema för gräsklippare för optimal prestanda
Regelbunden vård förhindrar kostsamma reparationer och förlänger utrustningens livslängd:
- Bladets skärpa : Kontrollera var 25 drifttimme
- Oljebyte : Utför säsongvis eller efter var 50:e drifttimme
- Kedjespänning : Granska månatligt under högsäsong
Hushåll som följer en proaktiv underhållsrutin rapporterar 22% färre mekaniska problem under fem år jämfört med de som använder reaktiva metoder.
Frågor som ofta ställs
Varför är det viktigt att rengöra min gräsklippare efter tung användning?
Att rengöra din gräsklippare efter tung användning är avgörande eftersom gräsbitar och skräp kan ansamlas, vilket påverkar prestandan och ökar risken för mekaniska problem. Regelbunden rengöring förlänger klipparens livslängd, behåller dess återförsäljningsvärde och förhindrar rost och korrosion.
Vilka verktyg behöver jag för att rengöra min gräsklippare effektivt?
Grundläggande verktyg för att rengöra en gräsklippare inkluderar stela nylonborstar, plastskrapor, mikrofiberdukar och en trädgårdsslang med en mjuk spraymunstycke. Undvik att använda trådborstar och starka kemiska rengöringsmedel eftersom de kan skada klipparen.
Kan jag använda vatten för att rengöra min gräsklippare?
Ja, vatten kan användas på ett säkert sätt med en mjuk stråle för att skölja bort smuts och gräsklipp. Undvik att spruta vatten på känsliga komponenter som luftfilter och karburator. Torka gräsklipparen ordentligt efter rengöring för att förhindra rost.
Hur kan jag förhindra skador på känsliga delar under rengöring?
För att förhindra skador ska du koppla från tändstiftskabeln innan rengöring, hålla karburatorn i upprätt läge för att undvika bränsleläckage och täcka luftfiltret för att förhindra vatteninträngning. Kontrollera gräsklipparen på tecken på korrosion och applicera anti-korrosionsfett där det behövs.